English
 Polski
How to clean the hair system properly?
We would like to suggest you how to easily and properly remove glue from a hair replacement incorporating polyurethane scalp or made from netting. Proper cleaning will also remove glue from the hair.
The tips provided below do not apply to silicone-based hair replacements.
To begin with, prepare all the necessary accessories.
You will need the following:
- Sink or washbasin with running water
- Bowl
- Brush
- Dishwashing liquid
- Mild shampoo
- Glue remover
- Styrofoam head.
How to start cleaning?
1. Remove the tape.
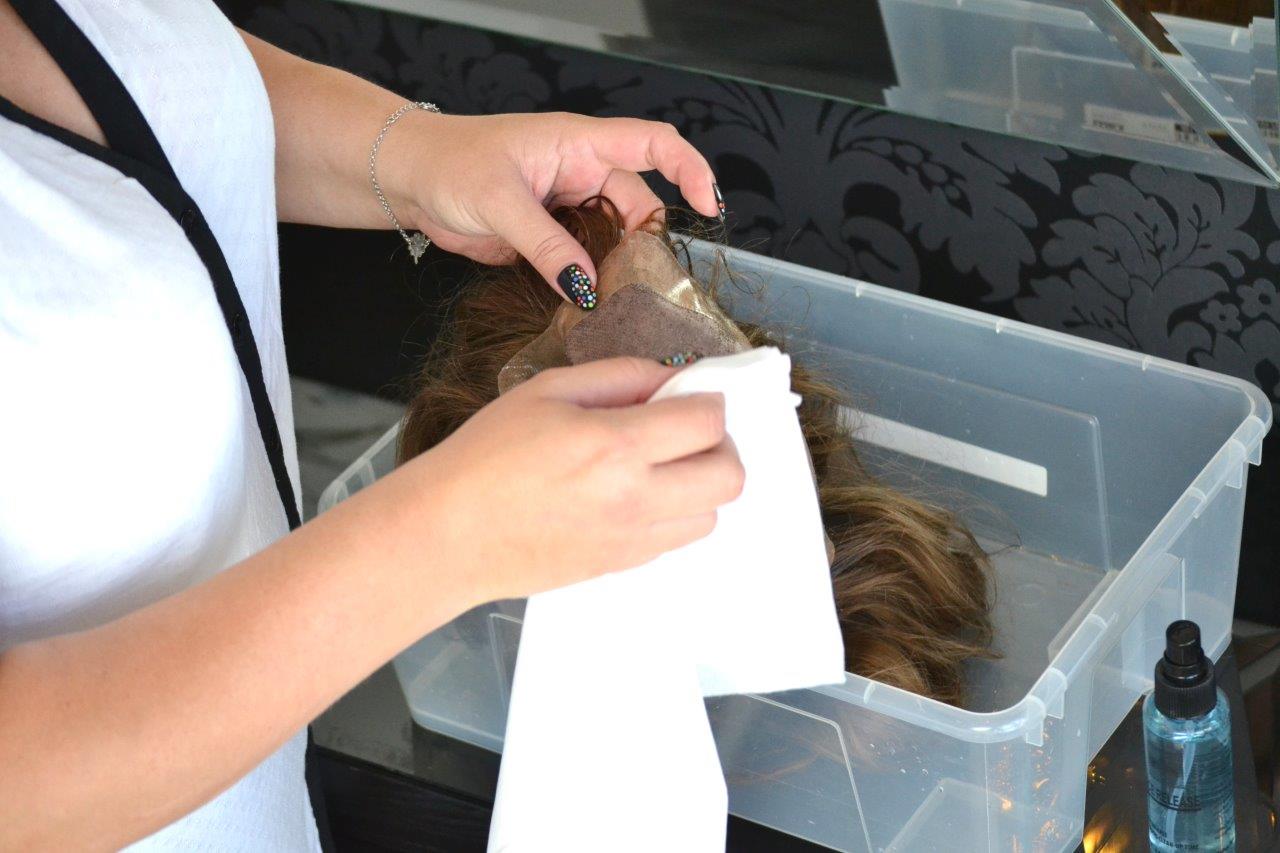
Start ungluing the tape from the polyurethane base by beginning from the very edge. You can do it with your nails. Please do not remove the tape from the netting area. You might damage the base by doing so. Use a glue solvent and a paper towel. Thanks to the usage of such accessories, you will prevent the tape from slipping through the hands.
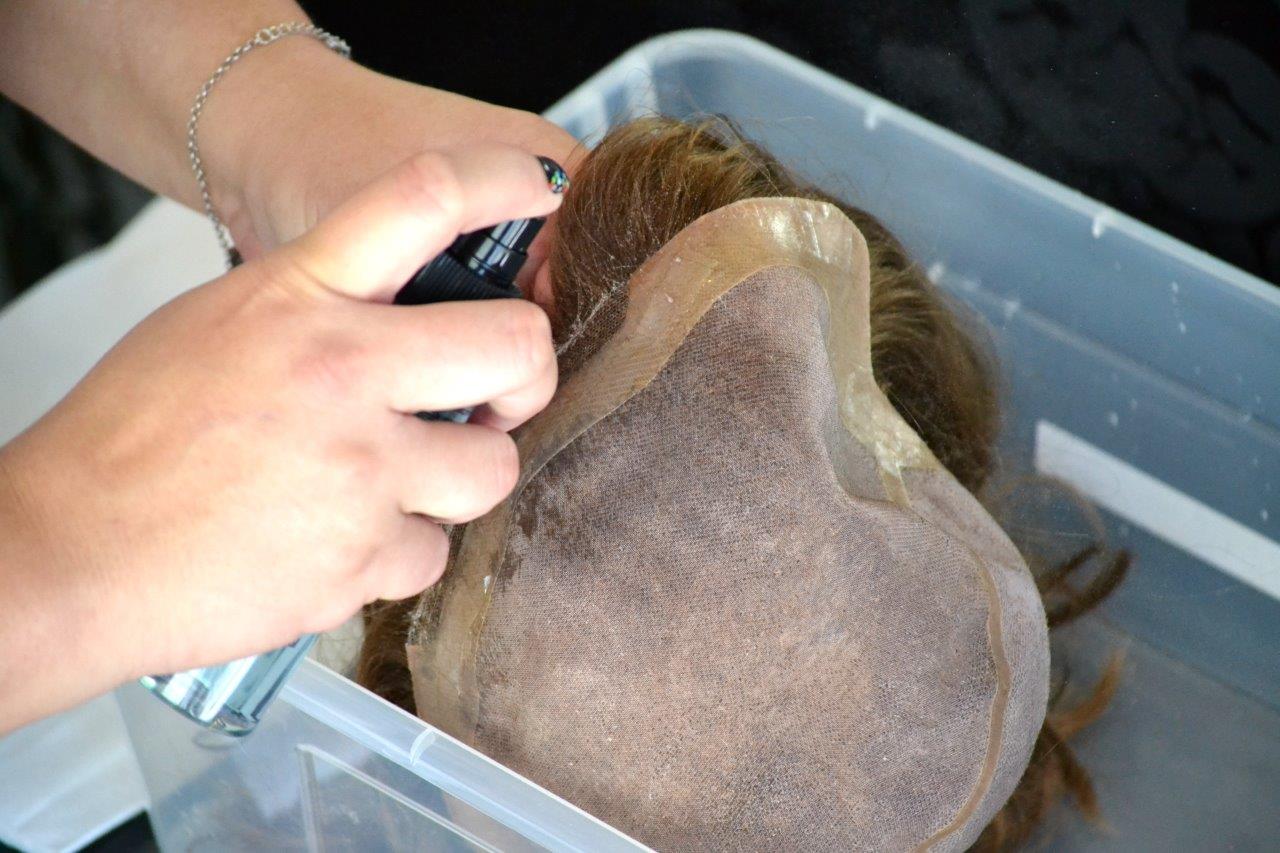
2. Soak the system in a glue remover.
Place the system in the container with acleaning formulation container with the base facing up. The soaking time can vary greatly: from five minutes to even one hour. It is so, because it depends on what glue has been used. If the tape is attached to a netted base, it will come off by itself remarkably easily.
3. Clean your hair system.
Remove the hair replacement from the container situated in the washbasin. Hold the system base facing up. Be careful while cleaning the netting: cautiously remove the glue with a nail brush. To do so, make short, vertical movements while brushing. Remove as much glue as possible. Then, place your hair system back in the solution. This time you should remove it already after a couple of minutes.
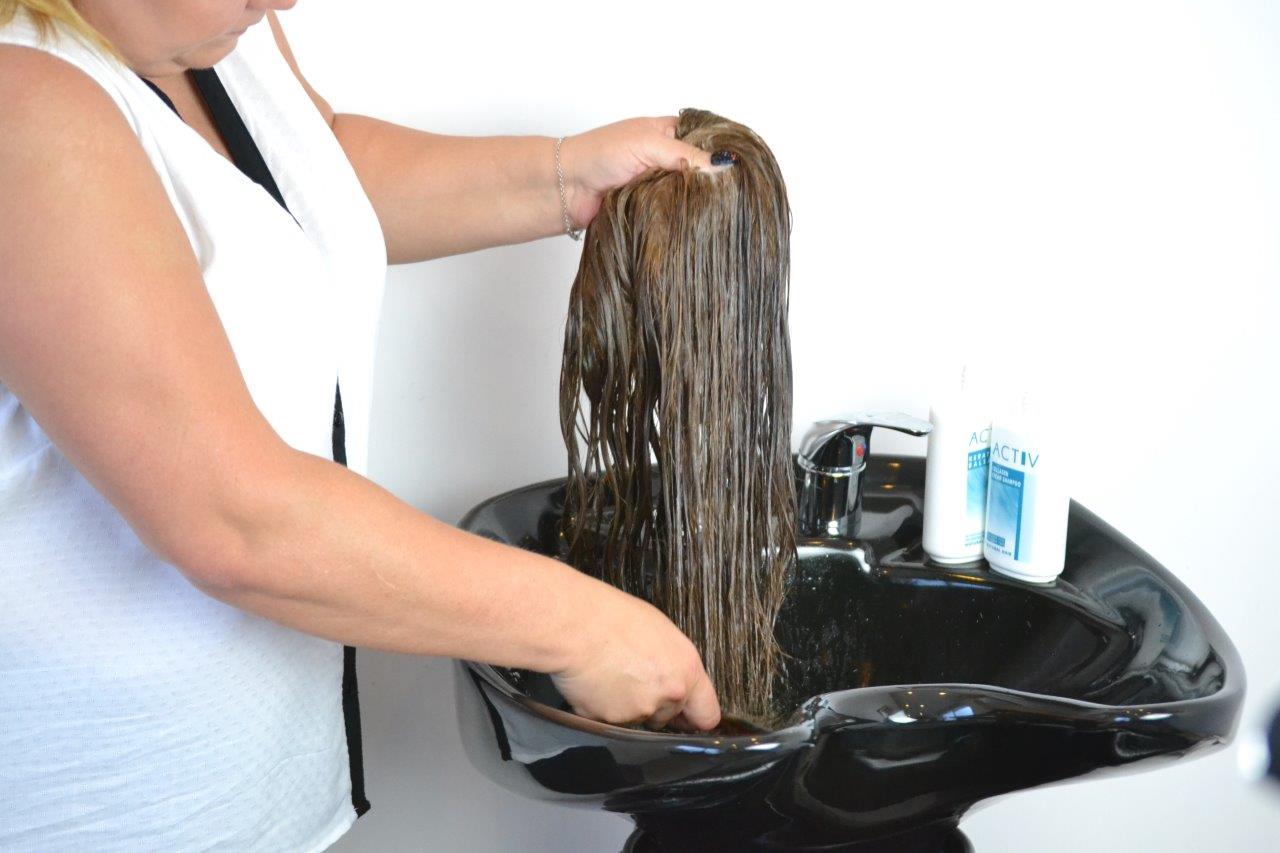
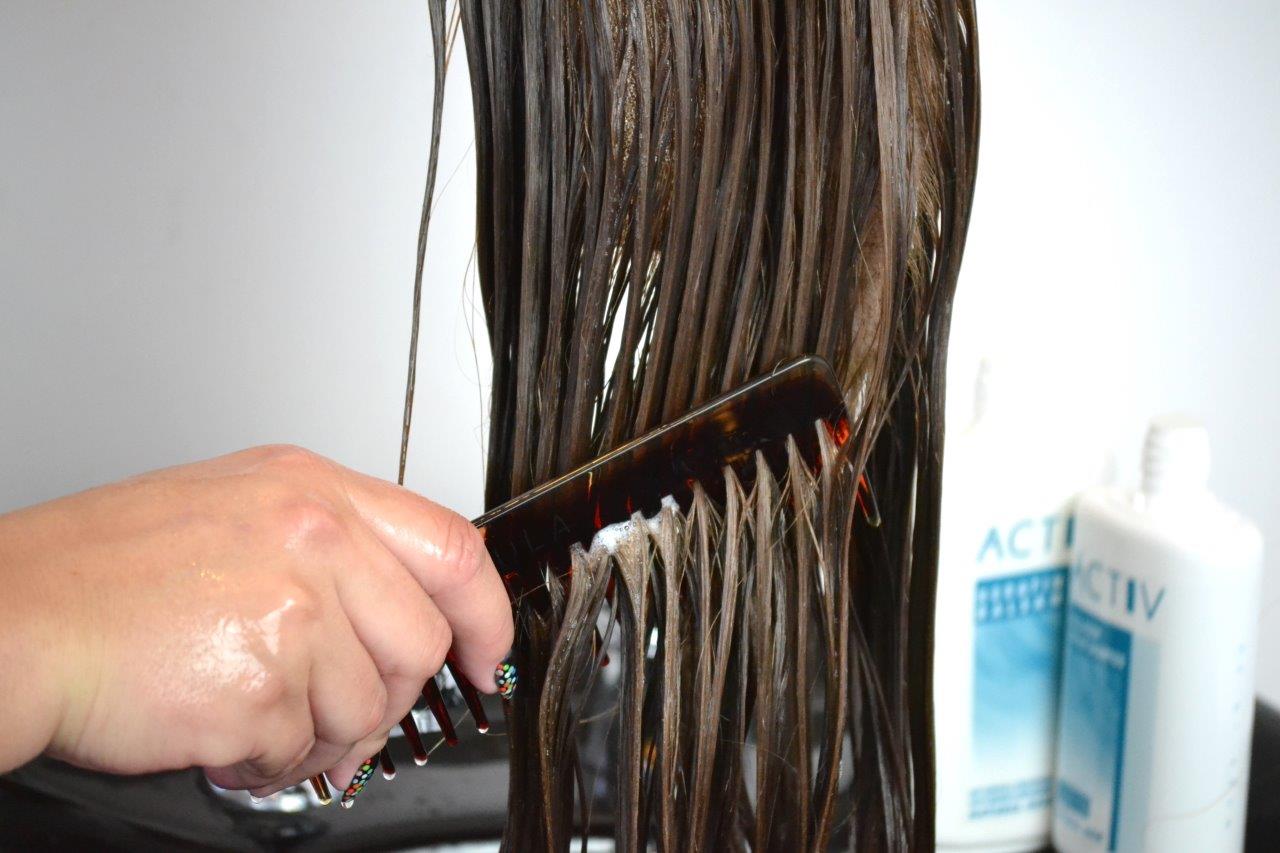
4. Rinse the replacement.
Afterwards, you can put your hair system in the washbasin. However, do not wash it yet. When it is still wet from the solution, pour some dishwashing liquid onto the whole replacement. By doing so, you will cause the remaining glue to come off the base. Remove it with a nail brush, proceeding from the edge towards the center. Carefully clean the hair system for a couple of minutes and then proceed to rinsing it under a strong stream of lukewarm water. If some glue still remains in the hair replacement, it means that soaking has been too short to achieve a desired result. In such a case, repeat step 2.
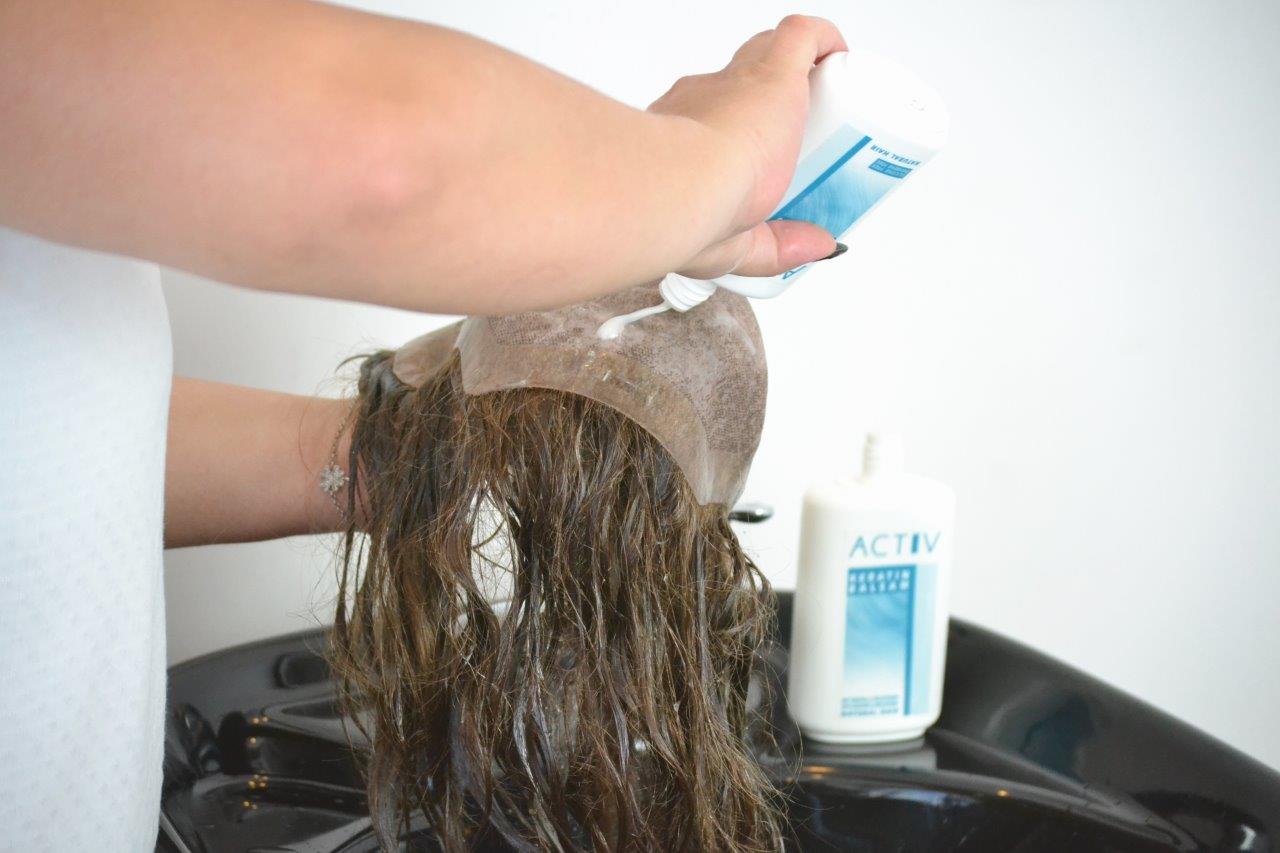
5. Use the shampoo and conditioner
You are almost finished. For the last step to be completed, wash the hair system with a shampoo so that the replacement contains no more acid or glue. Then, it is the right time to use a conditioner.
The described steps will make your hair replacement look like new again: clean and free of glue.